1. https://start.spring.io/ 에 접속해서 자신의 환경에 맞게 아래 그림처럼 setting을 합니다.

2. build.gradle dependencies 안에 해당 라이브러리를 추가 한후 rebuild 합니다.
implementation 'nz.net.ultraq.thymeleaf:thymeleaf-layout-dialect'
3. Externeal Libraries안에 해당 라이브러리가 추가됬는지 확인합니다.

프로젝트 구조

MainController.java
import lombok.RequiredArgsConstructor;
import org.springframework.stereotype.Controller;
import org.springframework.web.bind.annotation.GetMapping;

@Controller
@RequiredArgsConstructor
public class MainController {

    @GetMapping("/main")
    public String main(){
        return "main/main";
    }

}
scripts.html
공통 script
styles.html
공통 style
scripts.html, styles.html은 공통 css, jss를 선언한 파일입니다.
예시로 부트스트랩 css, js를 넣었습니다.
config.html
<!DOCTYPE html>
<html xmlns="http://www.w3.org/1999/xhtml"
      xmlns:th="http://www.thymeleaf.org"
      xmlns:layout="http://www.ultraq.net.nz/thymeleaf/layout">
<th:block th:fragment="configFragment">
  <head>
    <meta charset="utf-8">
    <meta name="viewport" content="width=device-width, initial-scale=1">
    <title>test</title>

    <!-- 공통 css -->
    <th:block th:replace="common/styles"></th:block>

    <!-- 컨텐츠 페이지의 css -->
    <th:block layout:fragment="css"></th:block>

    <!-- 공통 js -->
    <th:block th:replace="common/scripts"></th:block>

    <!-- 컨텐츠 페이지의 js -->
    <th:block layout:fragment="script"></th:block>
  </head>
</th:block>
</html>
config.html은 <head> 안에 들어갈 영역을 선언한 파일입니다.
footer.html
<!DOCTYPE html>
<html xmlns:th="http://www.thymeleaf.org">

<div th:fragment="footerFragment" class="container">
  <footer>
    <div>
        푸터영역
    </div>
  </footer>
</div>

</html>
footer.html은 하단 footer영역을 선언한 파일입니다.
header.html
<!DOCTYPE html>
<html xmlns:th="http://www.thymeleaf.org">

<nav th:fragment="headerFragment">
    <div>
        헤더영역
    </div>
</nav>
header.html은 상단 header영역을 선언한 파일입니다.
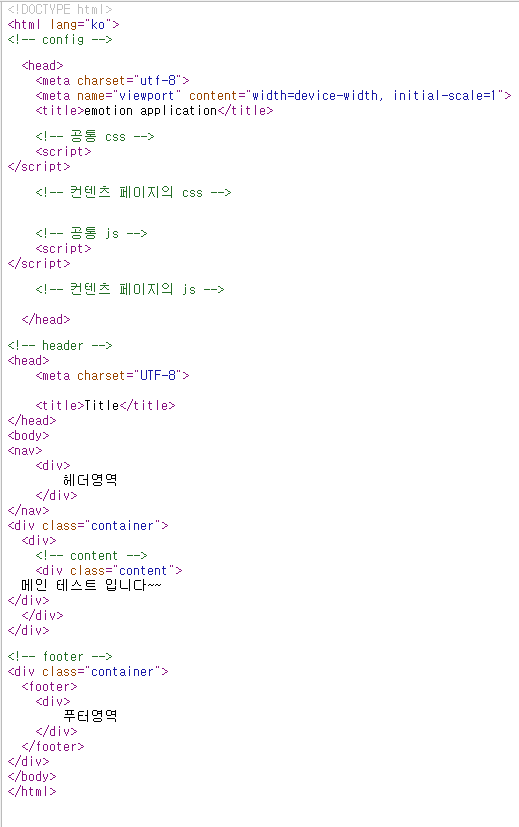
default_layout.html
<!DOCTYPE html>
<html lang="ko"
      xmlns:th="http://www.thymeleaf.org"
      xmlns:layout="http://www.ultraq.net.nz/thymeleaf/layout">
<!-- config -->
<th:block th:replace="fragment/config :: configFragment"></th:block>
<!-- header -->
<body>
<th:block th:replace="fragment/header :: headerFragment"></th:block>
<div class="container">
  <div>
    <!-- content -->
    <th:block layout:fragment="content"></th:block>
  </div>
</div>

<!-- footer -->
<th:block th:replace="fragment/footer :: footerFragment"></th:block>
</body>
</html>
default_layout.html은 layout을 선언한 파일입니다.
content.html
<!DOCTYPE html>
<html xmlns:th="http://www.thymeleaf.org" xmlns:layout="http://www.ultraq.net.nz/thymeleaf/layout"
      layout:decorate="layout/default_layout">

<!-- 현재 화면에서만 사용하는 css -->
<!--<th:block layout:fragment="css">-->
<!--  <link rel="stylesheet" type="text/css" href="main.css"/>-->
<!--</th:block>-->

<!-- 현재 화면에서만 사용하는 js -->
<!--<th:block layout:fragment="script">-->
<!--  <script src="main.js"></script>-->
<!--</th:block>-->

<div>
  <th:block layout:fragment="content">
    contents 영역
  </th:block>
</div>
</html>
각 화면마다 전에 생성한 layout 파일을 layout:decorate를 사용하여 참조해서 content 영역을 바꿔서 끼워줍니다.
* layout-diarect 버전이 올라가면서 layout:decorator 기능이 제대로 동작하지 않아서 해당 부분을 layout:decorate로 바껴주면 정상동작이 됩니다.


'frontend > 타임리프' 카테고리의 다른 글
| 타임리프 유효성체크 (0) | 2022.07.19 |
|---|---|
| 타임리프 서버 재시작 없이 view 파일 변경 (0) | 2022.07.18 |
| 타임리프 참고 사이트 (0) | 2022.07.18 |
| 타임리프 기본설정 문법 (0) | 2022.07.08 |

